Before I start, I want to thank you for tuning in to my blog posts. I hope you enjoyed Christmas and New Year with your friends and loved ones!
I think 2025 was the busiest and most eventful year for everyone. For me, it felt full of surprises. I stopped making New Year’s resolutions because I realized things can change so quickly, leading me to a different direction.
For the past 3 and a half years now, I’ve been tying to stay flexible and open to whatever comes my way, while trying to prioritize important things. I like the thrill of not knowing what comes next so my lore stays cool and mysterious.😎
That aside, I want to look back again one last time at the events that happened during 2025:
- Bought my very first mirrorless camera with my earnings.
- It may not look like a big deal to some, but for me, being able to afford the things I’ve been wanting to have is a dream come true.
- Rode an airplane and went to Cebu for the first time with my partner and our friend.
- It was me and my partner’s first time riding an airplane and going to Cebu for OtakuFest 2025 for Dokibird’s meet and greet
- Was able to work with wonderful clients and artists.
- I worked with those who have been inquiring for a year or two. I’m really thankful for their patience and willingness to wait for me to reopen the moment they’re ready. Other than that, I got to work with artists whose works I truly trust.
- Got sponsored by nizima LIVE for the 2nd time.
- It’s nice working with them again last year. It was also my first time editing a long-form video using DaVinci.
- Went fishing for the first time.
- My extended family, partner, and friends went out fishing, and I was able to catch a lot.
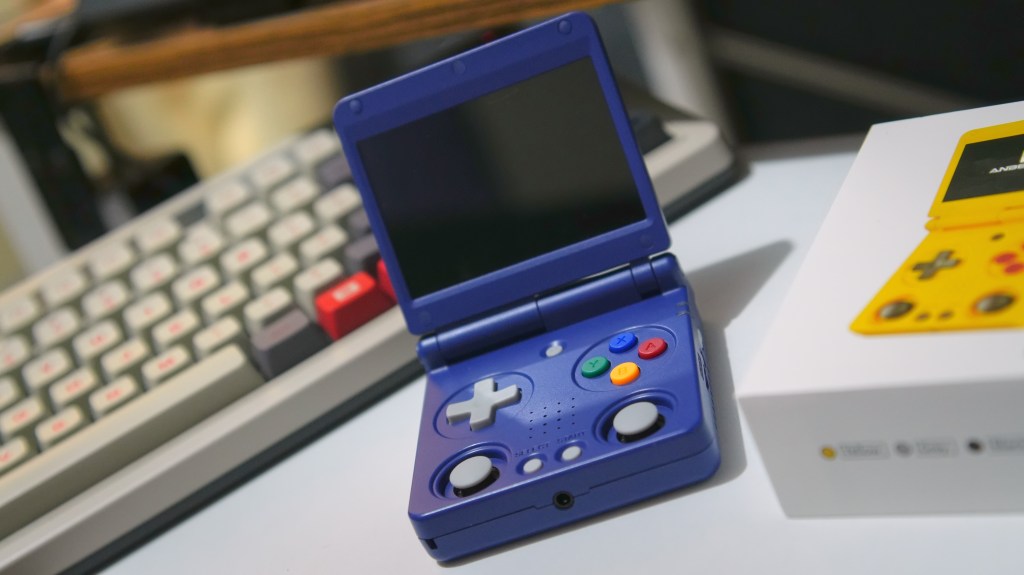
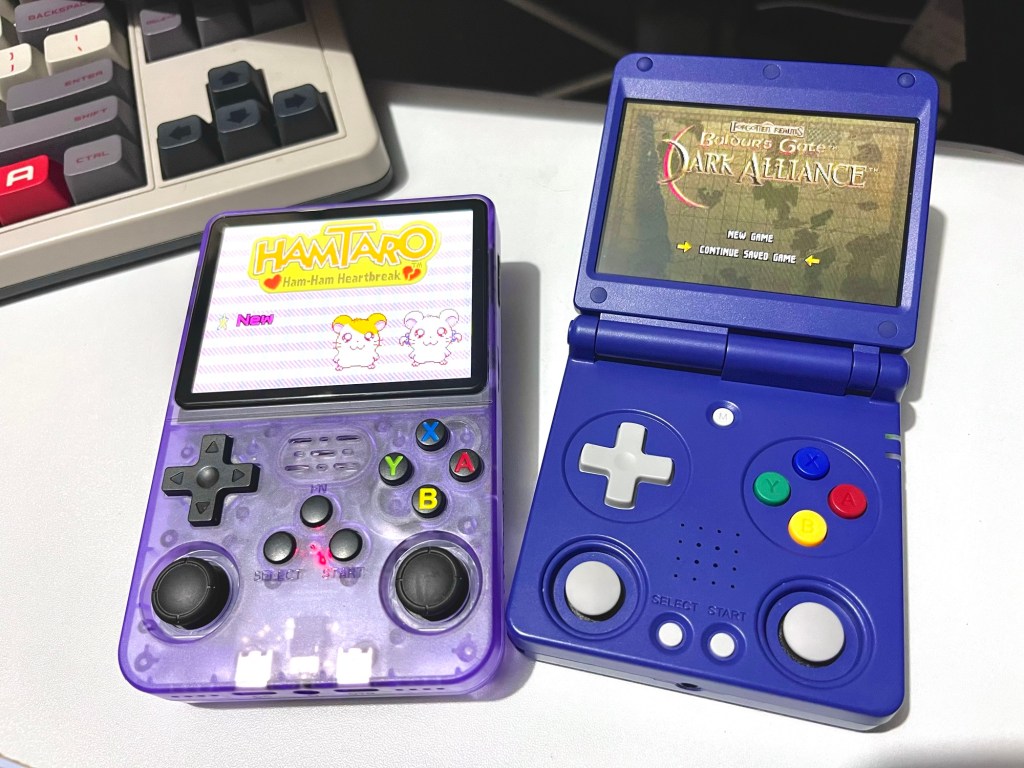
- Got my hands on two retro handhelds to play old games and tinker with them.
- Invited friends over for the first time during my birthday.
- My partner encouraged me to invite them and I’m glad he did and I’m thankful to everyone for coming.
- Finally cut off toxic friends from our group.
- Finally able to talk about concerns and express what my friends and I felt really made us see those who refuse to take accountability and are only there for their own gain. Ever since we cut off the bad apples, the latter half of 2025 was so peaceful.
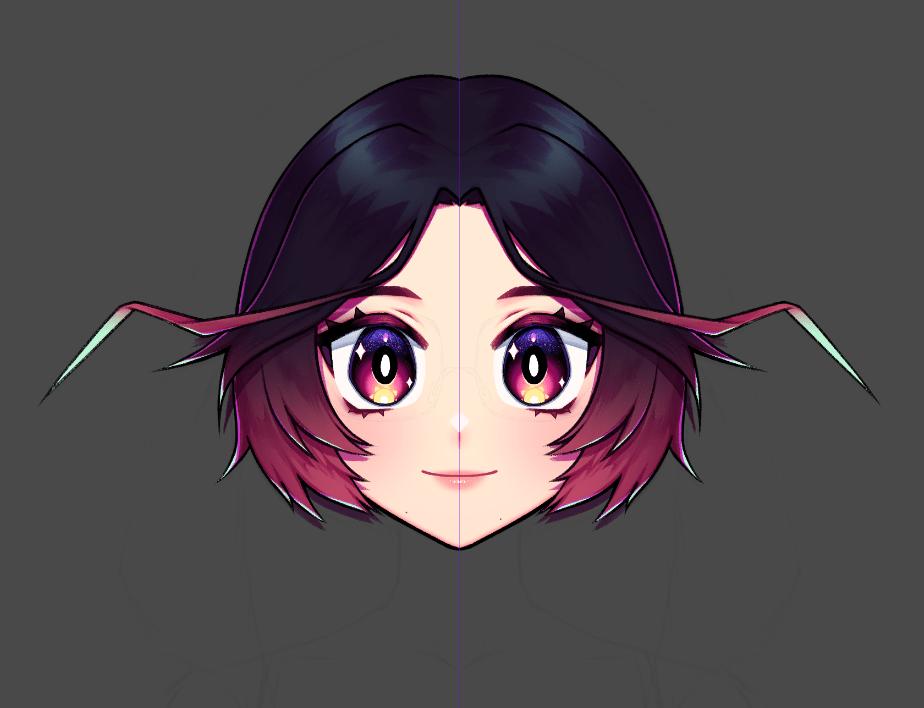
- Finished my 5.0 Live2D model.
- Bought a new pen display but had to request a refund because of damage.
- It still sucks because I was really looking forward to it, but it happens.
- Watched Demon Slayer: Kimetsu no Yaiba – The Movie: Infinity Castle at the cinema with friends.
- Went to the very first Miku Expo in the Philippines.
- Bought a secondhand Lenovo Thinkpad E595 laptop.
- I want to get my hands on one so I can install Linux on it and tinker with it. I’ve also been using it to hijack my PC whenever I work downstairs at home.
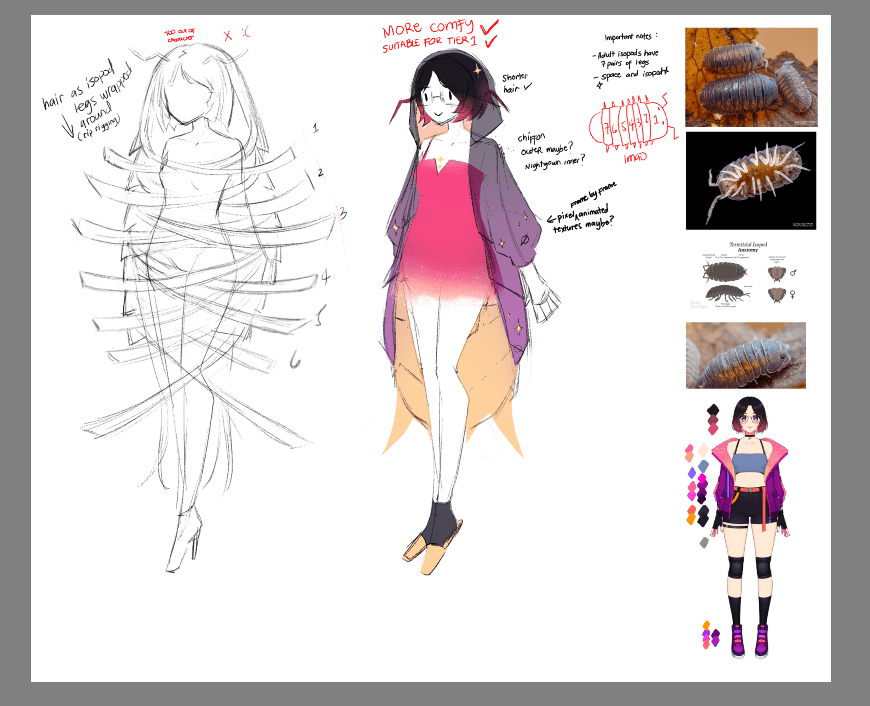
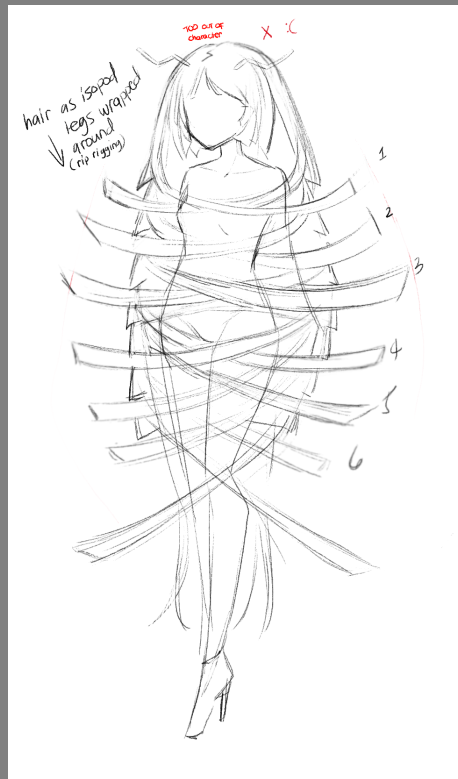
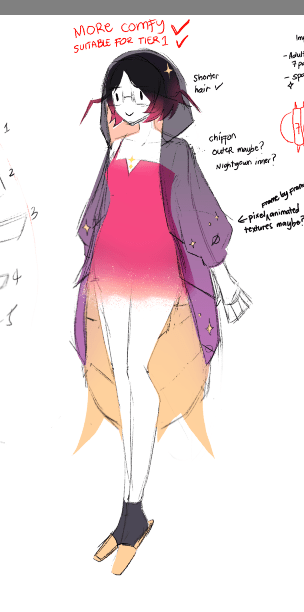
- Started working on a simple space isopod-themed Live2D model.
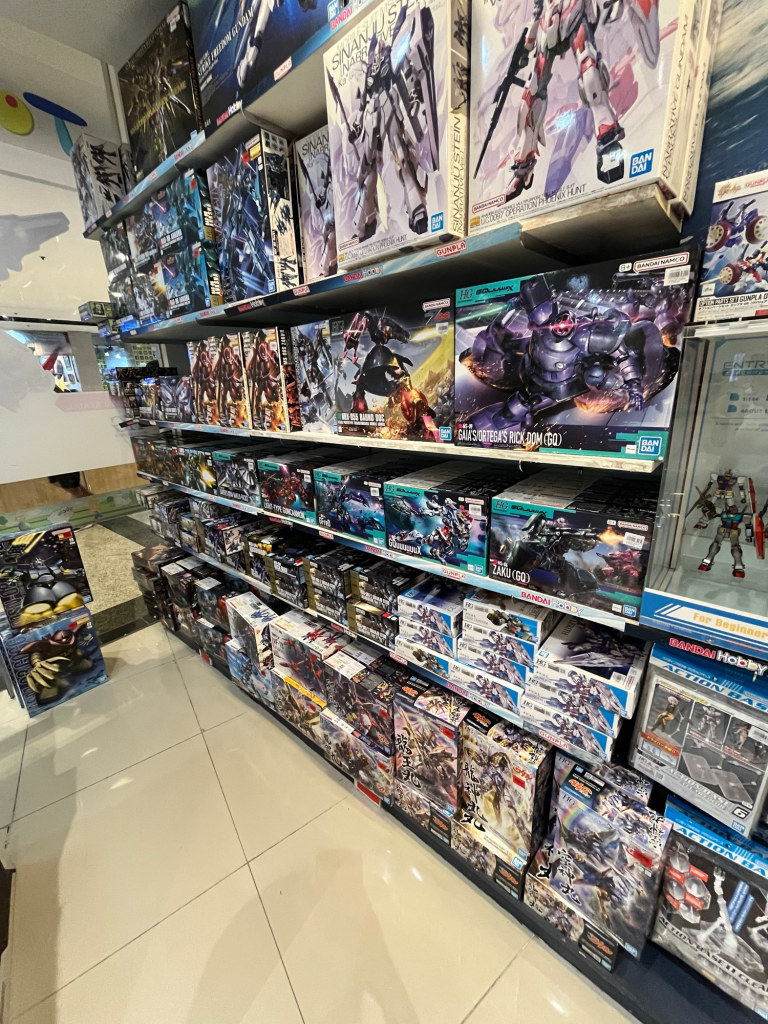
- Finally had the chance to build my model kits.
- I’ve had model kits that have been sitting for 3 years, and I finally made the time to build them. I’m also recording and editing the build process and will upload it on my vlog channel or maybe another channel for hobby stuff! 😀
- Got featured in Live2D Alive 2025 Event in Japan.
- I was featured as one of the creators who have collaborated with nizima LIVE. Hopefully, one day, I’ll be able to go to Japan and attend Live2D’s events.
- Extended family moved to their permanent home.
- We helped them with the move when we were out of town during Christmas until New Year’s. I’m so happy that they’re able to find a permanent place they can call home. Plus, pets are allowed, and my partner and I can bring our cats too!
Looking back, I realized it was a lot more than I expected. Even though I was busy with many things, I’m glad I still made time for myself and my loved ones. Whether it was hanging out with friends, trying a new hobby, or facing challenges, everything played a part in making the year fulfilling.
Thanks for reading until the end. I can’t wait to make my lore even more interesting this 2026.