It makes you nervous when you’ve never done something before, especially in Live2D. You don’t know whether or not you’ll be able to execute things well. since you’ve only imagined how it’s going to work in theory.
I attempted my very first Live2D rig and animation of a fire.
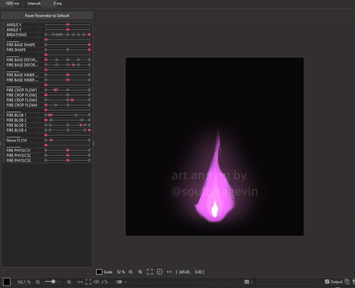
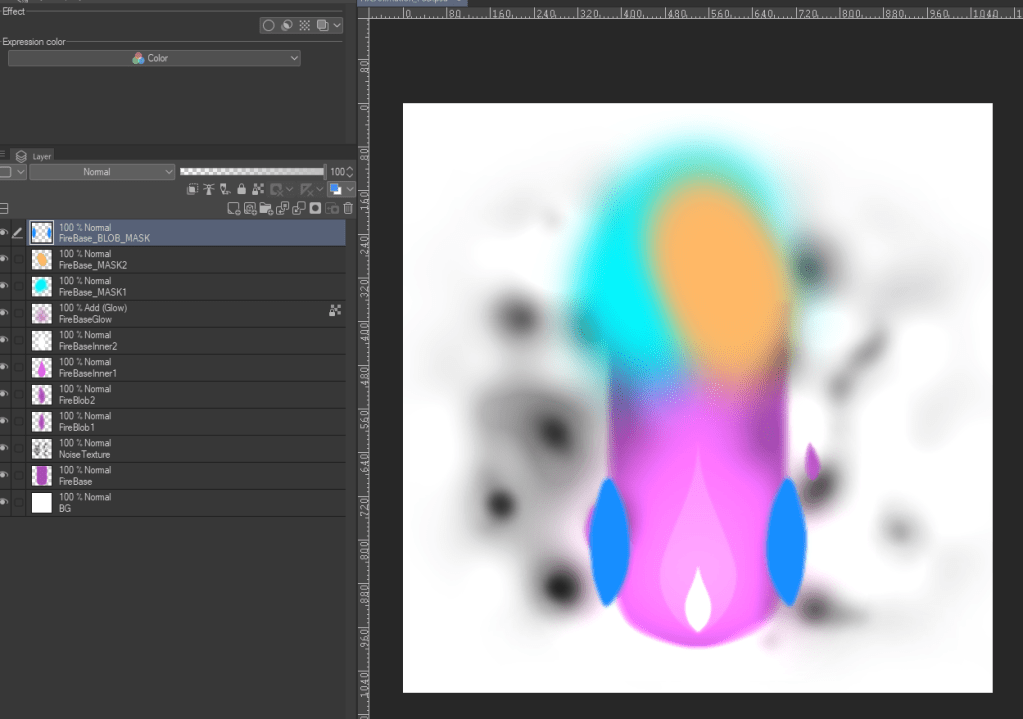
Here’s how the layers are laid out in the PSD file. The noise texture and colored blobs are used for inverted masking and set to 0% opacity in Live2D.
Note as of June 6, 2025: I’ve since discovered a more optimized way of doing the flames so I don’t recommend this method!
The ideal way to do this is by using Adobe After Effects to create the fire, exporting it as a PNG sequence, and then bringing those PNGs into Live2D. That said, it’s a pretty tedious process since you have to assign each frame to a single parameter. Plus, it can get resource-heavy because you’ll need to generate meshes for every imported PNG frame. But hey, the end result will totally be worth it!
Here’s what it looks like if it’s done via PNG sequence from Nonon’s work.
It’s also something I’ve done during my latest stream earlier. I was rigging a Live2D model’s eyes and brows first and then moved on to rig the model’s special eye toggle—the Cloud Eyes toggle. Do give it a watch if you’re interested in learning more!

Leave a comment